Karpenter currently supports AWS clusters only. Skyhook filters Karpenter out of the addon catalog for non-AWS clusters automatically.
Installing Karpenter
Karpenter is in the main addon catalog. From Addons, search for Karpenter and click Install on any AWS cluster.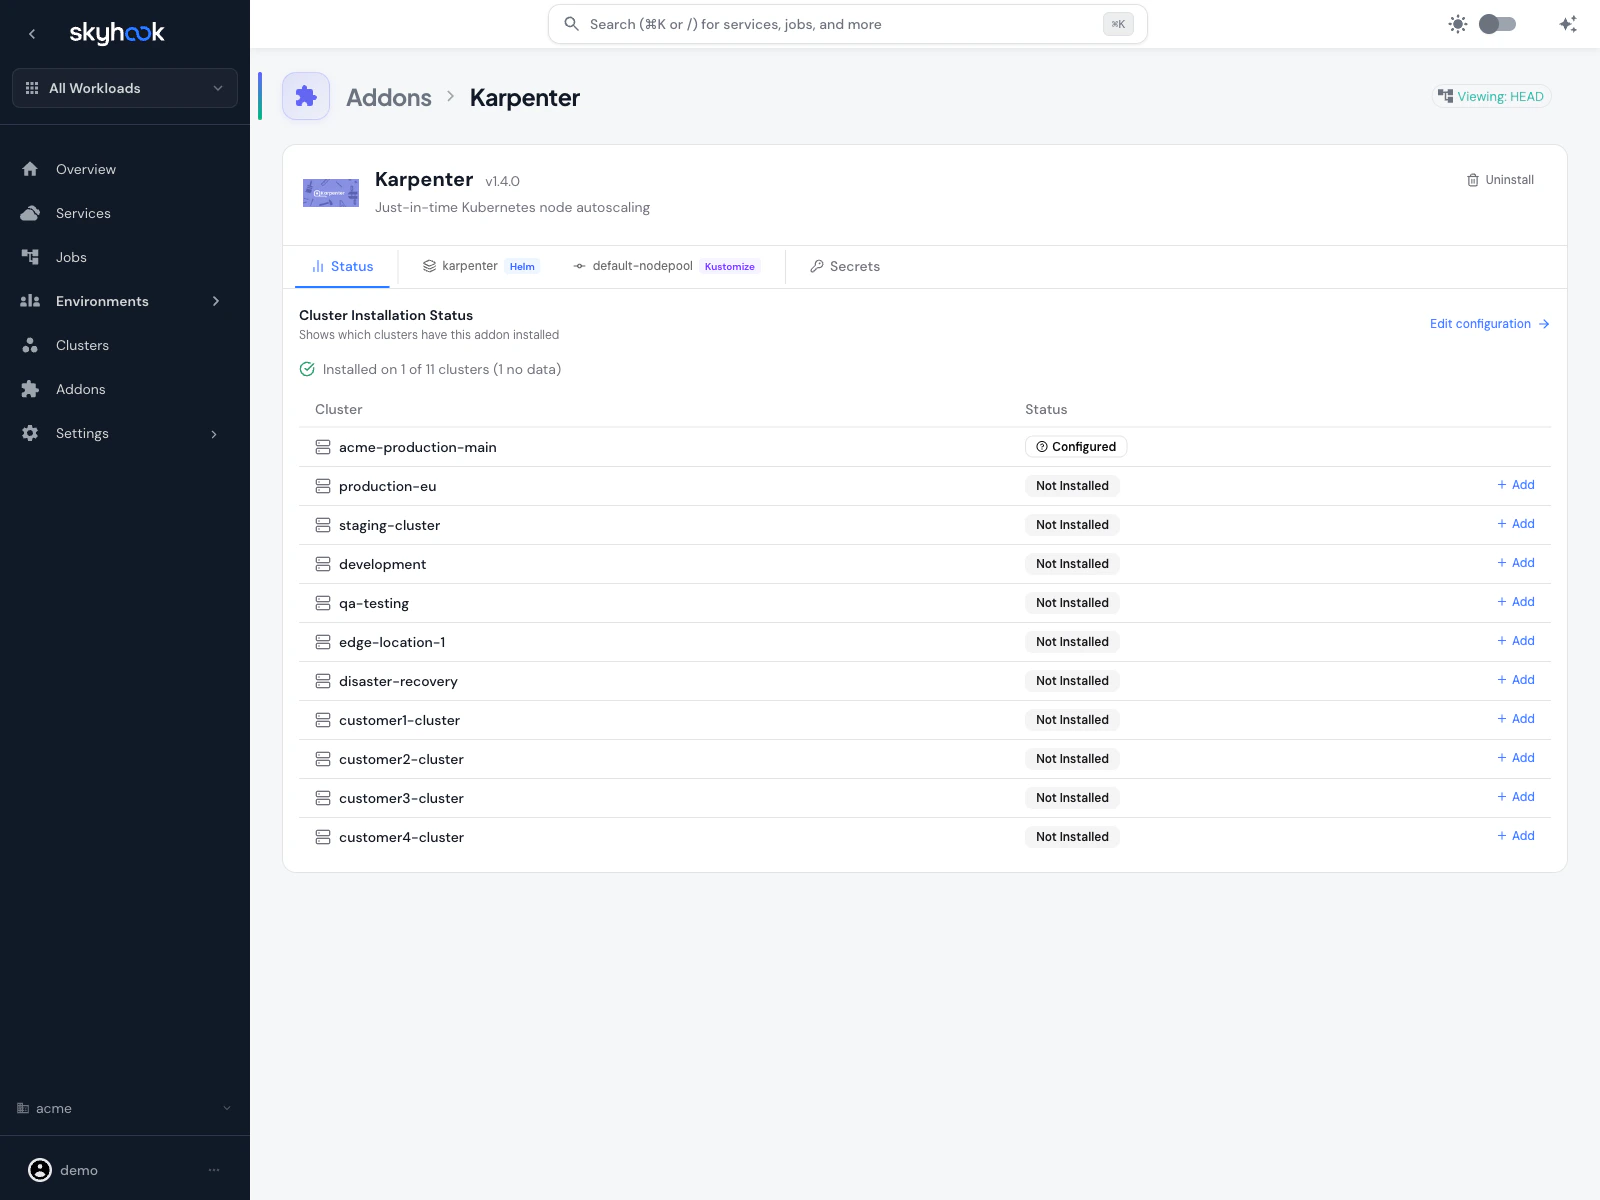
- Karpenter controller — the Kubernetes operator that watches pending pods and provisions nodes
- Default NodePool — a starter NodePool with sensible defaults for consolidation, expiration, and disruption handling
Default NodePool behavior
The default NodePool ships with conservative defaults:- Consolidation — Karpenter actively consolidates underutilized nodes (moving pods to fewer, larger or smaller nodes as appropriate)
consolidateAfter: 30s— nodes are considered for consolidation 30 seconds after becoming empty or underutilizedexpireAfter— nodes expire on a schedule so fresh AMIs and patches roll through- Cloud-provider-appropriate instance types — the NodePool starts with a broad instance family selection that Karpenter narrows down based on actual pod requirements
Node Strategy page
For multi-cluster Karpenter management, Skyhook adds a dedicated Node Strategy page at Settings → Infrastructure → Node Strategy.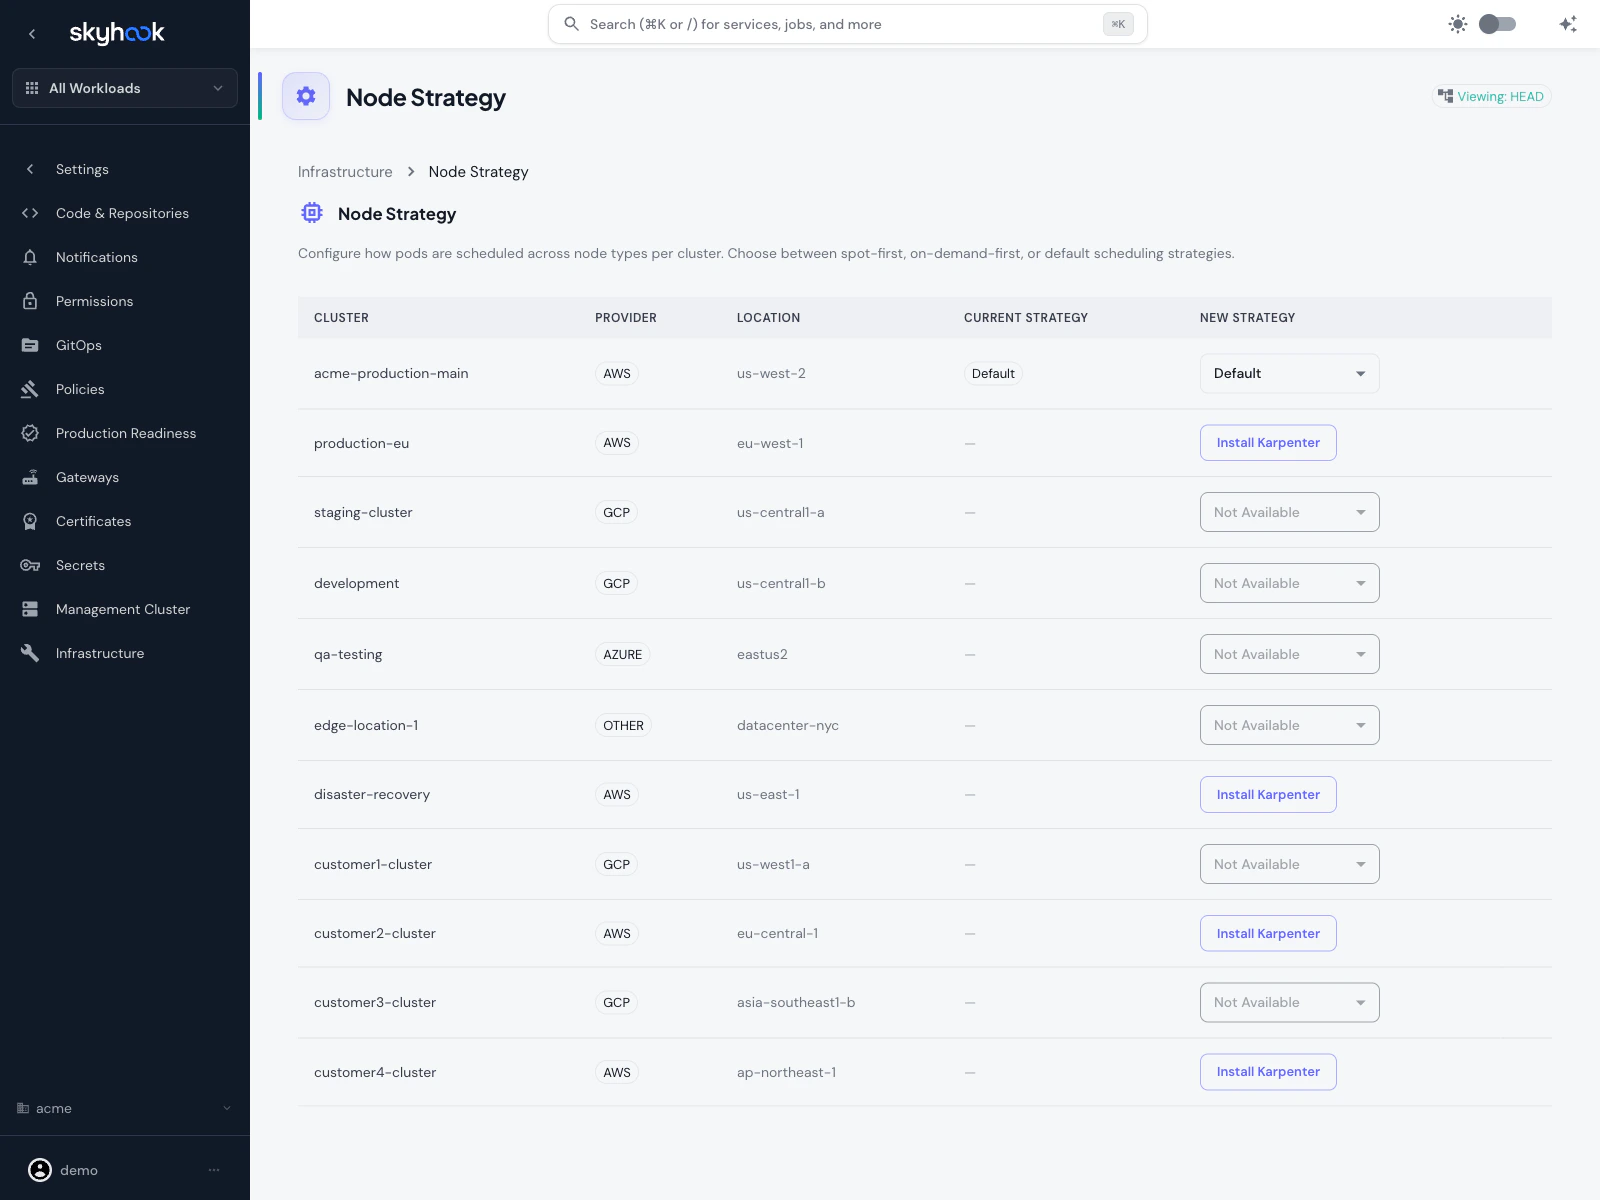
What the page shows
One row per cluster in your organization:- Cluster — cluster name
- Provider — cloud provider (AWS / GCP / Azure / Other)
- Location — region or zone
- Current Strategy — the strategy Karpenter is currently using on that cluster
- New Strategy — a dropdown to change the strategy, or Install Karpenter if it isn’t installed yet, or Not Available if the cluster isn’t on AWS
Available strategies
Spot-First
Karpenter provisions Spot instances first, falling back to On-Demand only when Spot capacity isn’t available or when pods explicitly require On-Demand. Cheapest but may disrupt workloads more often.
On-Demand-First
Karpenter provisions On-Demand instances first. Higher cost but more predictable — good for production workloads that can’t tolerate Spot interruptions.
Default
Use Karpenter’s built-in scheduling behavior without a Skyhook-provided strategy override. The NodePool’s own settings determine placement.
Non-AWS clusters
Non-AWS clusters appear on the page greyed out with Not Available because Karpenter only supports AWS. You’ll see them listed so you have a full fleet view, but you can’t install Karpenter on them.Using Karpenter with services
Services you deploy to Karpenter-enabled clusters can influence node placement via nodeSelector and tolerations in their deployment settings. Skyhook surfaces a Node Scheduling card on the service’s deployment settings tab that:- Lists all clusters the service is deployed to
- Shows which ones have Karpenter installed
- Offers Karpenter quick actions per cluster (for example, “Prefer Spot nodes”, “Dedicate to this workload”)
- Autocompletes label keys from the actual nodes in the cluster, so you’re not guessing label names
Example: Spot workload
To make a service prefer Spot nodes but still run on On-Demand if no Spot capacity is available:Troubleshooting
Karpenter not appearing in the addon catalog
Karpenter not appearing in the addon catalog
Karpenter only shows up for AWS clusters. If you’re looking at a GCP, Azure, or Other/On-Prem cluster, Karpenter is filtered out because it doesn’t apply.
Pods stuck pending after installing Karpenter
Pods stuck pending after installing Karpenter
Check three things:
- Karpenter controller is running — check the cluster resource viewer for the
karpenternamespace. If pods aren’t healthy, review ArgoCD sync status for the addon. - NodePool covers the required instance types — if your pod requests a specific architecture (arm64) or a large resource footprint, make sure the NodePool’s instance family selection includes nodes that can satisfy it.
- EC2 quota — Karpenter can only provision nodes your AWS account has quota for. Check AWS Service Quotas for vCPU limits on the instance types Karpenter is trying to launch.
Spot interruptions keep killing my workload
Spot interruptions keep killing my workload
Either switch that specific service to On-Demand via its Node Scheduling settings, or switch the entire cluster’s strategy to On-Demand-First on the Node Strategy page. You can also configure Karpenter to pre-drain Spot nodes on interruption warnings so pods move gracefully — see the Karpenter disruption docs.